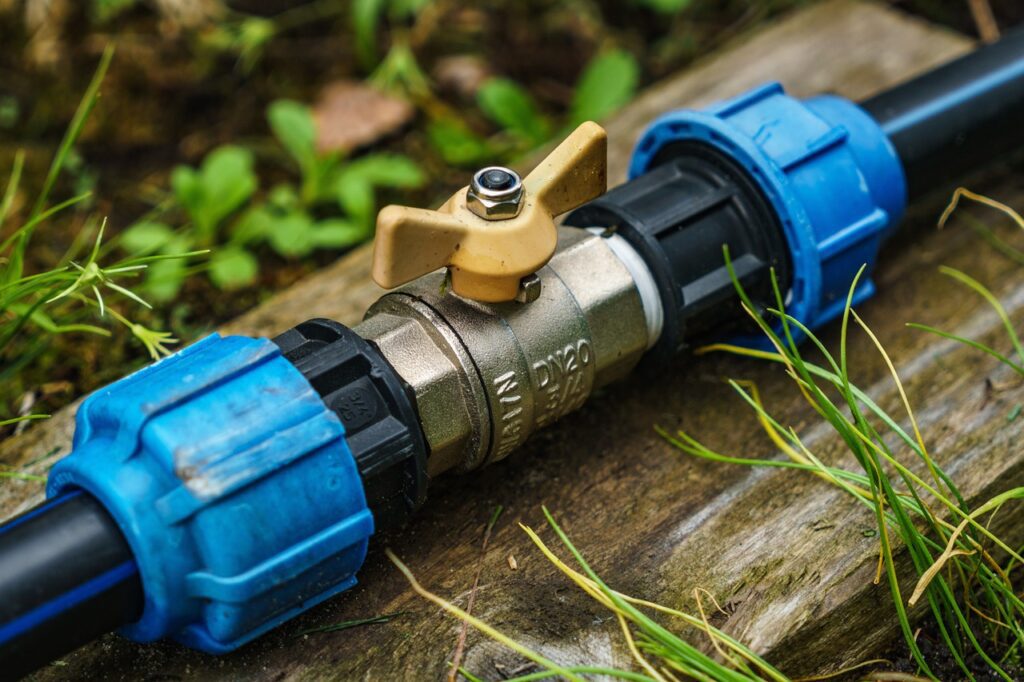
Installing a water line for a refrigerator is a convenient way to access fresh, filtered water and ice directly from your appliance. Whether you’re replacing an old water line or installing a new one, this step-by-step guide will help you complete the process effectively and safely.
Contents
- 0.1 Tools and Materials You’ll Need:
- 0.2 Step-by-Step Guide to Install a Water Line for a Refrigerator:
- 0.2.1 Step 1: Choose the Location
- 0.2.2 Step 2: Shut Off the Water Supply
- 0.2.3 Step 3: Prepare the Water Line Kit
- 0.2.4 Step 4: Install the Saddle Valve or Compression Fitting
- 0.2.5 Step 5: Connect the Water Line
- 0.2.6 Step 6: Route the Water Line
- 0.2.7 Step 7: Connect to the Refrigerator
- 0.2.8 Step 8: Test for Leaks and Flush the Line
- 0.2.9 Step 9: Secure and Insulate the Line (if necessary)
- 0.2.10 Step 10: Final Checks and Adjustments
- 0.3 Additional Tips and Considerations:
- 1 Author
Tools and Materials You’ll Need:
- Refrigerator water line kit: Typically includes a tubing, fittings, and a saddle valve or compression fitting.
- Adjustable wrench
- Phillips screwdriver
- Teflon tape (plumber’s tape)
- Bucket or basin
- Towel or rag
- Utility knife
- Drill with bits (if necessary)
Step-by-Step Guide to Install a Water Line for a Refrigerator:
Step 1: Choose the Location
- Locate the water source: Identify a nearby cold water supply line to tap into. This could be under the kitchen sink or in a basement.
- Consider accessibility: Ensure the location allows for easy access to install the water line and make connections.
Step 2: Shut Off the Water Supply
- Turn off the water: Locate the shut-off valve for the water supply line you’re tapping into. Turn the valve clockwise to shut off the water.
- Drain the line: Open a nearby faucet to drain any remaining water in the line and relieve pressure.
Step 3: Prepare the Water Line Kit
- Read the instructions: Review the manufacturer’s instructions included with your water line kit for specific details and recommendations.
- Cut the tubing: Measure and cut the tubing to the appropriate length using a utility knife or tubing cutter. Leave some extra length for adjustments and routing.
Step 4: Install the Saddle Valve or Compression Fitting
- Position the valve: Place the saddle valve or compression fitting over the cold water supply line at the chosen location.
- Secure the valve: Follow the manufacturer’s instructions to tighten the saddle valve or compression fitting onto the water supply line using an adjustable wrench.
Step 5: Connect the Water Line
- Attach the tubing: Insert one end of the tubing into the outlet port of the saddle valve or compression fitting. Ensure it’s securely seated.
- Secure with fittings: Use the fittings provided in the kit to secure the tubing to the valve or fitting. Tighten the fittings using an adjustable wrench.
Step 6: Route the Water Line
- Plan the route: Route the tubing neatly along the back of cabinets or behind appliances, avoiding sharp bends or kinks that could restrict water flow.
- Secure the tubing: Use clips or adhesive-backed clamps to secure the tubing along its route, keeping it tidy and out of the way.
Step 7: Connect to the Refrigerator
- Locate the refrigerator water inlet: Depending on your refrigerator model, locate the water inlet usually at the bottom or back of the appliance.
- Connect the tubing: Insert the free end of the tubing into the refrigerator’s water inlet. Push it firmly until it’s fully seated.
Step 8: Test for Leaks and Flush the Line
- Turn on the water supply: Slowly turn the shut-off valve counterclockwise to restore the water supply. Check for leaks at all connections.
- Flush the line: Place the free end of the tubing into a bucket or basin. Run several gallons of water through the line to flush out any debris or air bubbles.
Step 9: Secure and Insulate the Line (if necessary)
- Secure the tubing: Use additional clips or clamps to secure the tubing along its entire length, ensuring it remains stable and doesn’t vibrate.
- Insulate the tubing: Consider wrapping the tubing with foam pipe insulation to prevent it from sweating or freezing in colder environments.
Step 10: Final Checks and Adjustments
- Check the refrigerator: Ensure the water dispenser and ice maker are functioning correctly. Test for adequate water flow and proper operation.
- Monitor for leaks: Keep an eye on the connections over the next few hours to ensure there are no leaks. Tighten fittings if necessary.
Additional Tips and Considerations:
- Safety first: Wear safety glasses when cutting tubing or making connections to protect your eyes from debris.
- Professional assistance: If you’re unsure about any step or encounter complications, consider consulting a licensed plumber for assistance.
- Regular maintenance: Periodically check the water line for leaks and ensure fittings are secure to prevent water damage.
By following this comprehensive guide, you can successfully install a water line for your refrigerator, providing convenient access to fresh, filtered water and ice. Taking the time to prepare, make proper connections, and test your installation will ensure reliable performance and enjoyment of your appliance’s features.


