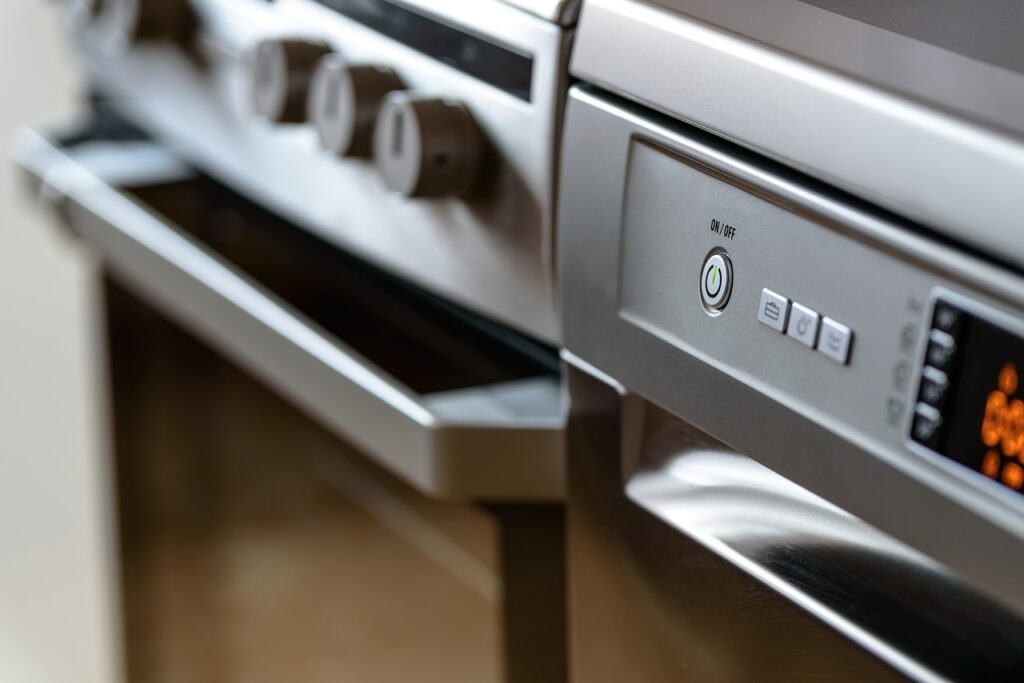
Installing a dishwasher is a manageable DIY project that can save you money and enhance the functionality of your kitchen. This guide will walk you through the step-by-step process of installing a dishwasher, including preparation, necessary tools, installation of the dishwasher itself, connecting water and electrical supply, and testing for leaks.
Contents
Tools and Materials You’ll Need:
Before you begin, gather the following tools and materials:
- Adjustable wrench
- Phillips screwdriver
- Level
- Tape measure
- Bucket
- Channel-lock pliers
- Pipe wrench (if needed)
- Dishwasher installation kit (typically includes necessary fittings and hoses)
- Electrical cord or wire nuts (depending on electrical setup)
- Safety goggles
Step-by-Step Guide to Installing a Dishwasher:
Step 1: Preparation
- Choose Location: Select a suitable location for the dishwasher near the sink. Ensure there is enough space for the dishwasher and access to water and electrical connections.
- Measure and Prepare: Measure the height, width, and depth of the dishwasher to ensure it fits the designated space. Clear out the area under the counter where the dishwasher will be installed.
- Turn Off Utilities: Shut off the water supply and power to the area where you will be working. This may involve turning off the water valves under the sink and switching off the circuit breaker at the electrical panel.
Step 2: Install the Dishwasher
- Connect Water Supply:
- Attach the water supply line: Connect the water supply line to the dishwasher. Use the included elbow fitting or adapter if necessary. Hand-tighten the connection, then use channel-lock pliers to secure it further without over-tightening.
- Connect to the hot water line: Use a flexible hose to connect the other end of the water supply line to the hot water supply under the sink. Ensure there are no kinks in the hose that could restrict water flow.
- Connect the Drain Hose:
- Secure the drain hose: Attach the dishwasher drain hose to the sink drain or garbage disposal unit. Use a hose clamp to secure the connection and prevent leaks. Ensure the hose runs upward to create a high loop to prevent backflow of water.
- Secure the Dishwasher:
- Adjust leveling legs: Adjust the dishwasher’s leveling legs to ensure it is level from side to side and front to back. Use a level to check and make adjustments as needed.
- Secure to Cabinet: Use mounting brackets or screws provided with the dishwasher to secure it to the underside of the countertop or side cabinets. Follow manufacturer instructions for proper installation.
Step 3: Connect Electrical Supply
- Review Electrical Requirements: Determine whether your dishwasher requires a dedicated circuit. Check the manufacturer’s instructions and local building codes for specific requirements.
- Install Electrical Cord or Wire:
- Hardwired Installation: If required, follow local electrical codes to hardwire the dishwasher directly to the electrical supply. Use wire nuts to connect the dishwasher wires to the house wiring, matching colors (typically black to black, white to white, and green or copper to ground).
- Power Cord Installation: Attach the electrical cord to the dishwasher, following manufacturer instructions. Plug the cord into a nearby electrical outlet, ensuring it is a grounded outlet and meets electrical code requirements.
- Secure Wiring: Secure any excess wiring with wire nuts and electrical tape, ensuring it does not interfere with dishwasher operation or create a safety hazard.
Step 4: Test and Final Checks
- Turn On Utilities: Turn on the water supply and electricity at the main valves and circuit breaker panel. Check for any leaks around the water connections and tighten as needed.
- Run a Test Cycle:
- Load the dishwasher: Place a few dishes and dishwasher-safe items into the racks.
- Run a test cycle: Start a short wash cycle to ensure the dishwasher fills with water, operates properly, and drains without leaks.
- Adjust as Needed: Make any final adjustments to leveling or connections based on the test cycle. Ensure all components are securely installed and functioning correctly.
Step 5: Clean Up and Final Steps
- Secure Panels and Trim: If applicable, reinstall any panels or trim that were removed during installation. Ensure they are securely attached and do not interfere with dishwasher operation.
- Dispose of Packaging: Properly dispose of any packaging materials and old dishwasher components according to local waste disposal regulations.
- Review Warranty and Maintenance: Keep the dishwasher’s warranty information and maintenance schedule for future reference. Regularly clean filters and maintain proper operation to prolong the dishwasher’s lifespan.
Additional Tips:
- Read the Manual: Always refer to the dishwasher’s installation manual for specific instructions and safety precautions.
- Safety First: Wear safety goggles when using tools and working with water and electrical connections.
- Seek Professional Help: If you are unsure about any part of the installation process, consult a licensed plumber or electrician for assistance.
By following these steps and guidelines, you can successfully install a dishwasher and enjoy the convenience of a modern kitchen appliance. Installing a dishwasher yourself not only saves money but also gives you the satisfaction of completing a practical home improvement project.


